
This blog will help you easily understand how to build a data pipeline in Azure Data Factory (ADF) step-by-step. Let’s keep it simple and clear!
ADF is a cloud-based tool that helps you move and transform data from one place to another -- like copying files from storage to a database.
Pre-requisites
Before starting, make sure you have:
- An Azure account
- A Data Factory created
- A CSV file stored in Azure Blob Storage
- An Azure SQL Database with a table ready to receive data
The image below describes the copy activity in the pipeline.
This is the basic structure for creating any pipeline.
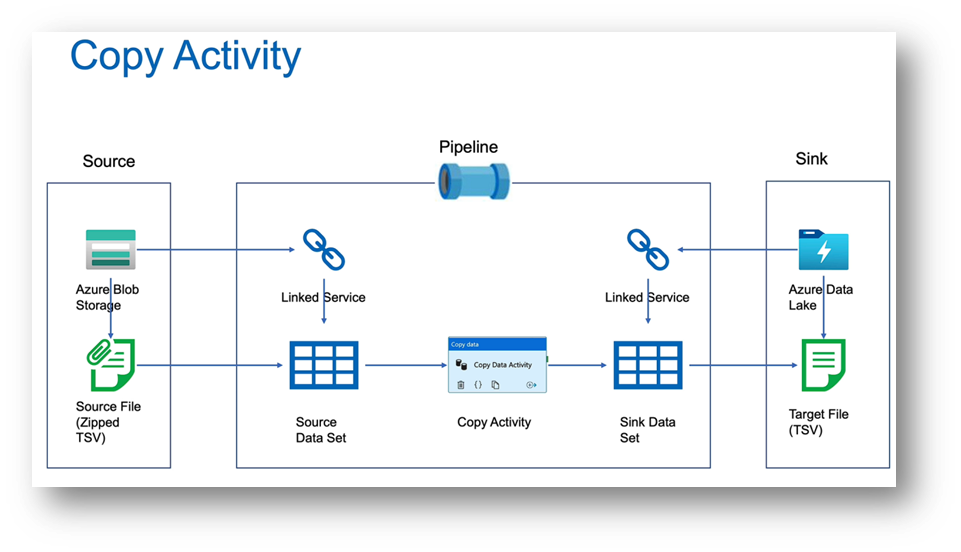
We will perform the following steps in detail through hands-on practice.
Steps to Create the Pipeline
Step 1: Create a Storage Account
You need a storage account to hold your data files.
- Log in to the Azure Portal.
- Click Create a resource → search for Storage account → click Create.
- Fill in the following details:
- Resource Group: Choose or create a new one.
- Storage account name: Example — mystorage123 (must be unique).
- Region: Choose your region.
- Performance: Standard is fine.
- Redundancy: Locally-redundant (LRS) is enough for learning.
- Click Review + Create → Create.
- Once deployed, open your storage account.
- Go to Containers → + Container → give a name (like inputdata) → set public access to Private → Create.
Step 2: Create a Data Factory
- Log in to the Azure Portal.
- Click Create a resource → search for Data Factory.
- Fill in the details (Name, Region, Resource Group, etc.).
- Click Review + Create.
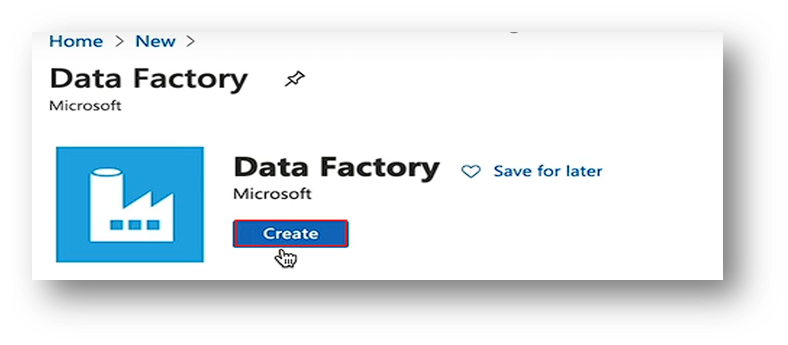
Click the create button here,
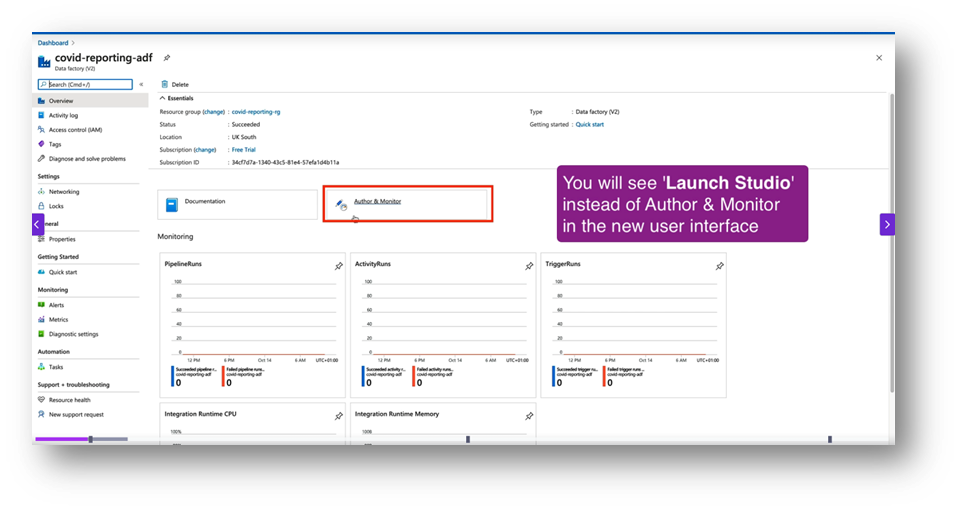
Step 3: Open ADF Studio
- Once created, go to the resource → click Author & Monitor. This opens the ADF Studio.
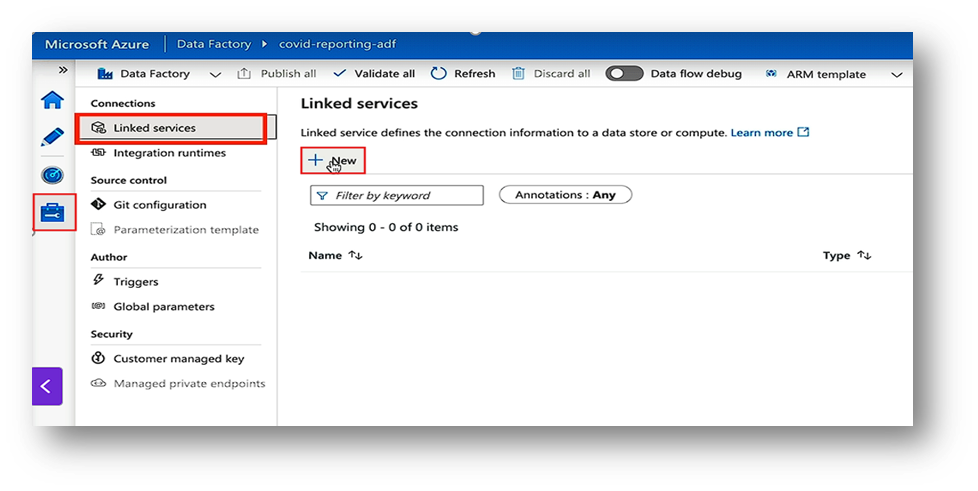
Step 4: Create Linked Services
Linked Services are your connections.
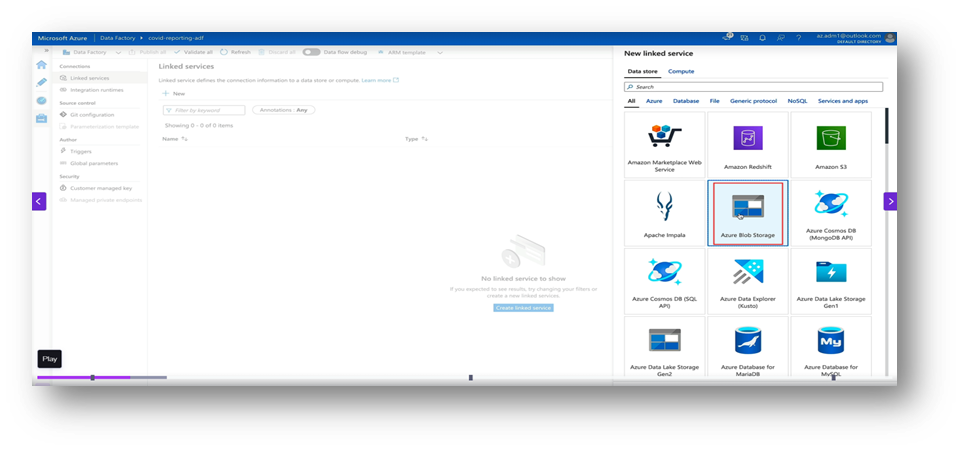
- Blob Storage: Go to Manage → Linked Services → New → Azure Blob Storage. Add connection details and test it.
- For the sink, also use blob storage or something like a SQL database.
- Now create a new linked service same as the previous one for the sink.
- Blob Storage: Go to Manage → Linked Services → New → Azure Blob Storage. Add connection details and test it.
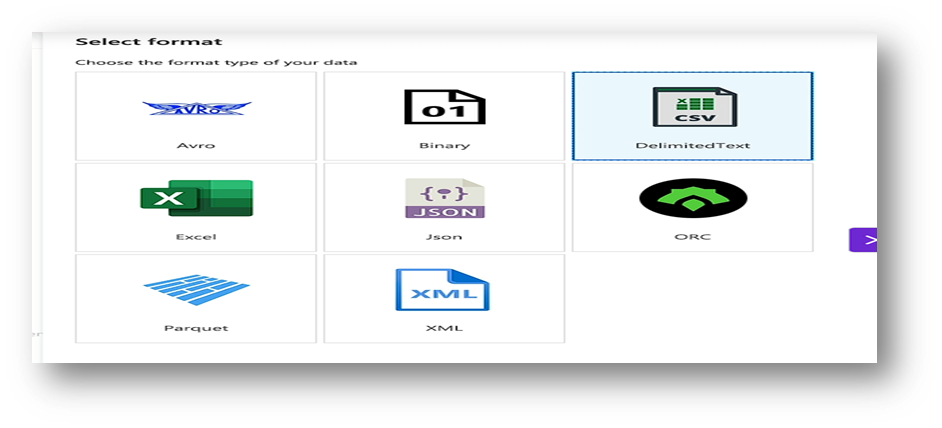
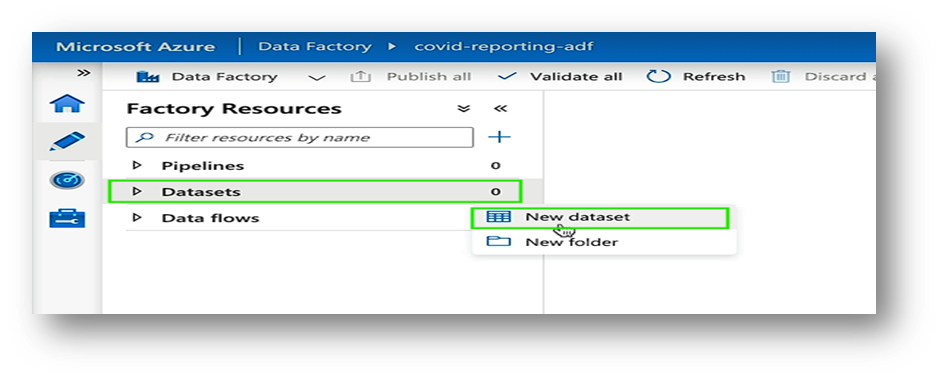
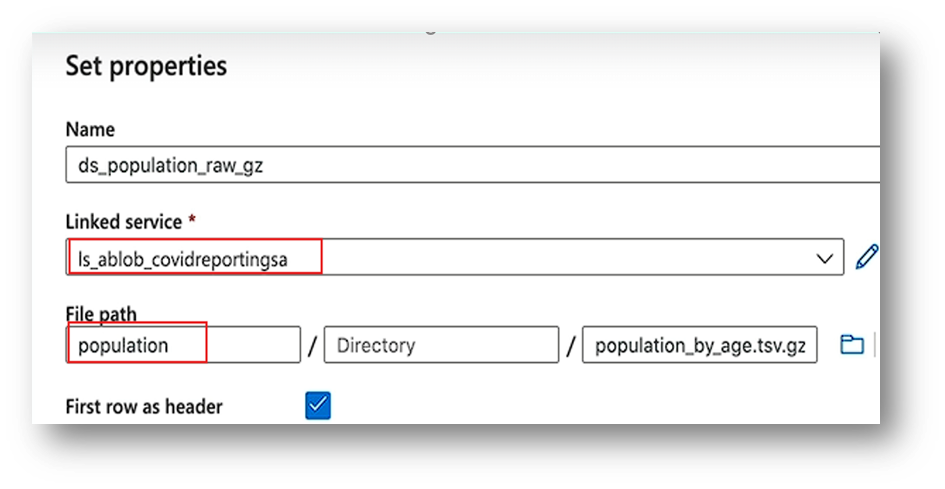
Step 5: Create Datasets
Datasets describe your data.
- Source Dataset (Blob): Choose DelimitedText → link to your Blob container → select your CSV file.
- Sink Dataset (Blob): Choose DelimitedText → link to your Blob container → select your CSV file.(same as previous dataset).
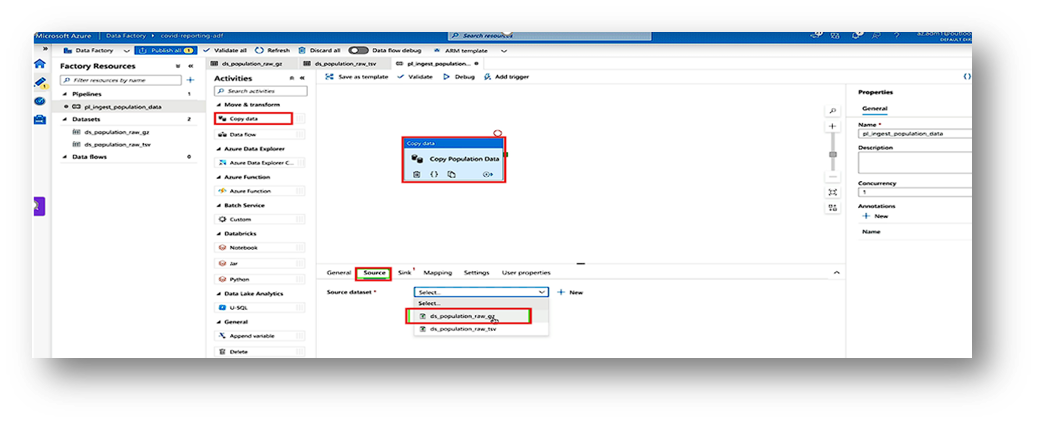
Step 6: Build the Pipeline
- Go to Author → Pipelines → New Pipeline.
- 2. Drag a Copy Data activity to the canvas.
- In Source, choose your Blob dataset.
- 4. In Sink, choose your Blob dataset.
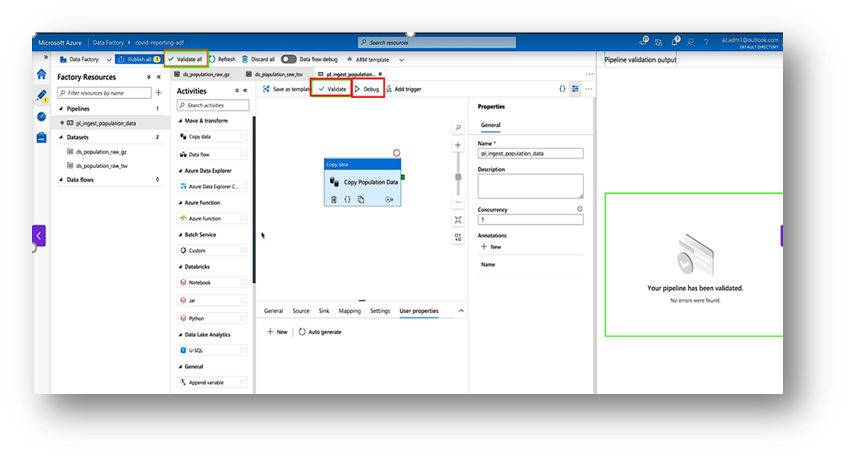
Step 7: Test and Run
- Click Validate and Debug to test the pipeline.
- Once it works, click Add Trigger → Trigger Now to run it.
Step 8: Monitor the Pipeline
- Go to the Monitor tab.
- You can see each run’s status, duration, and errors (if any).
Conclusion
Azure Data Factory (ADF) is a powerful and easy-to-use cloud service for building data pipelines. It allows you to connect different data sources and move data efficiently without complex coding. You can design, schedule, and monitor pipelines visually in a single platform. With ADF, automating data movement and transformation becomes fast and reliable. It supports both cloud and on-premises data sources seamlessly. Whether it’s daily data refresh or real-time integration, ADF handles it all. In short: Azure Data Factory is your one-stop solution for creating efficient, reusable, and automated data pipelines in the cloud.